Tuesday, March 6, 2012

Lamp Makeover

When was the last time you bought a lamp? I can honestly say that aside from a miniature rooster lamp I got from a junk store a few months ago, I have not actually purchased a lamp for myself. Ever. We have a few that were wedding presents. I went to TJ Maxx to get a few for our bedroom and dern-- those suckers are expensive! 

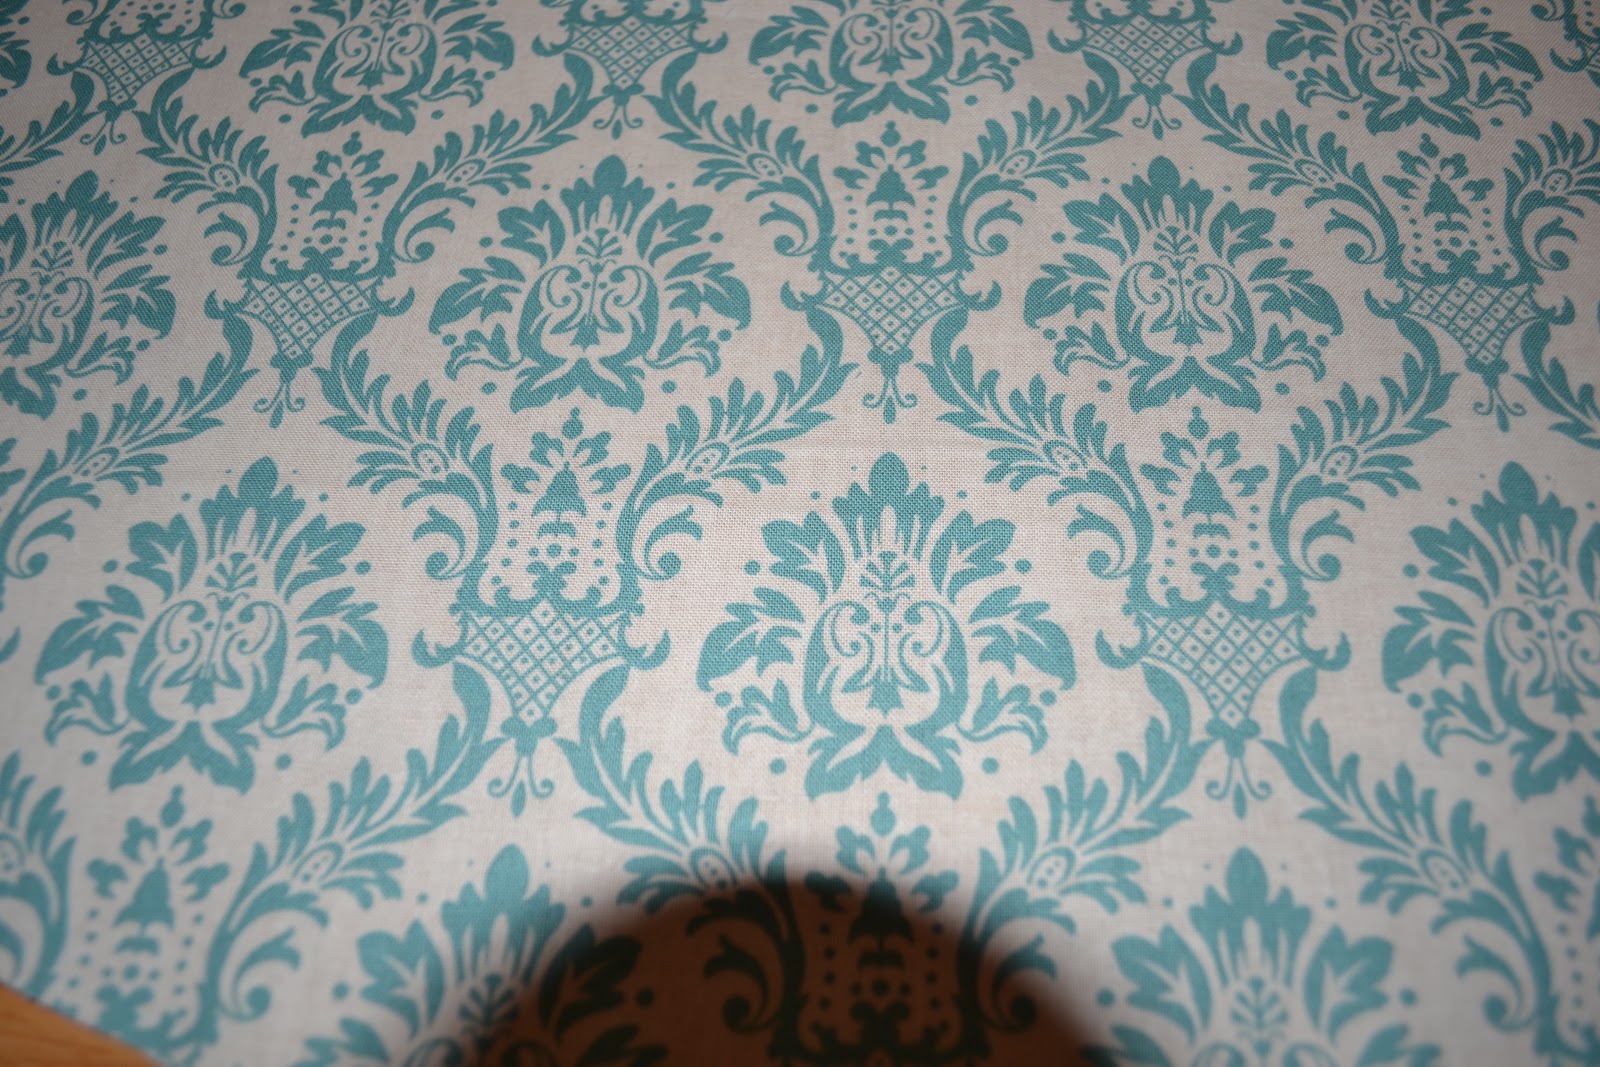
Over the weekend, we got new carpet and rearranged some furniture. I decided to get new lamps for our night tables, but I couldn't find any that I loved right off the bat. I knew I wanted something small, something with a white base, and something with teal in the shade. So... I decided to jazz up cheapy Walmart lamps.


 Seriously, the bases were $4.98 each and the shades were $4.98 each. So, that's $20 and change for 2 lamps, plus the fabric ($2.10) and spraypaint ($4.99) I used. So all in all, less than $30 for two lamps that look like they're from a specialty shop. Keep reading to see how I did this (it's easy!).

You'll need:
A working lamp base
A plain white shade without pleats
A lightbulb
White spraypaint that is safe for the substance of your lamp base
Fabric

1.  You'll need to clean and spraypaint your base if you're looking to change it. Follow the directions on the spraypaint-- some take longer to dry than others. I had to start painting mine a day before I made the shades. This lamp base was a tarnished black finish originally.

2.   Make your shade. Be sure to press your fabric before measuring or cutting to avoid wrinkly mistakes. Many new lampshades come shrinkwrapped. An easy trick is to carefully cut off the plastic in one piece, lay it on your fabric, and trace the outline of the plastic + about 1/2 gap on every side. You'll end up with something like this:
This is also a good way to be sure your pattern will be straight.


3.  Grab an extra set of hands and line up your shade with your fabric:


4: If desired, press or hotglue a hem on one of the overlapping back seam pieces:

5. Start gluing and pressing the fabric into place. Be diligent to avoid ripples and skews:
Also, make little slits on the fabric near the "spoke" part of the shade if needed.


Assemble your lamp, and here is your finished product:

Good luck!

Saturday, January 21, 2012

Shower Trends

Certainly one of the most luxurious showers you could experience would be a body spray system. Picture it: water hitting you from multiple angles, faster showers, and the therapeutic feel of a whirlpool while standing in a fast shower. Lovely. Many manufacturers make variations of body spray systems, all with their own unique elements.

While body showers are luxurious, they also have a few drawbacks. Every spray or set of sprays has a different knob-- you have to control pressure and temperature with 8 different knobs. They're more difficult to clean because of all the fine details and tiny spaces that now have to be scrubbed. They also look cluttered and can distract the eye away from beautiful custom walls.

The solution: electronic controls. Essentially, a wall mounted remote control for your shower that can control the exact temperature with a digital display and also can control pressure and user settings. These systems are excellent for elderly and disabled users as the shower can be started with the touch of a button- never too hot, never too cold and no knobs to turn. What's even nicer is that they can cut back on the cost of remodeling later on. Simply keep the valve and digital thermostatic pressure control in place and swap out the trim for whatever suits your new style.
This is Kohler's DTV Prompt Digital Showering System.

IDS Lunch & Learn

Hi Readers,

This morning, I hosted a "Lunch & Learn" event at Ferguson Enterprises, where I work full-time. (Jensen Home Staging & Design is just a side business.)  The meeting went very well, especially considering I just found out last night that I have a kidney infection and I feel like my bladder has been stomped on. Not fun. Put praise be to God for getting me through and giving me the confidence I needed to do a good job.

I have decided to write a few blog posts about the topic of the seminar: bathroom remodeling. Be sure to check back soon for blogs on these topics:

What's Trending in Showers
Toilet Statements
Fabulous Finishes
Water Smart Standards
Lovely Lighting (for Bathrooms)

Thank you for reading!

Tuesday, December 6, 2011

Selling in Winter Months

Imagine driving up to a house for sale. The bushes are overgrown, the grass is brown and crunchy, and it's almost dark, but there are no lights on inside or out. You make your way up the path after slipping on a few slick spots, your pride barely intact. You open the door and the air is cold and stale. The house has been emptied of furniture and seems abandoned. Your Realtor goes on and on about the great features of the house, but you feel like you're wandering through a sad story. Can you imagine that lifeless building as a home? Unfortunately, many home sellers are have difficulty picturing themselves in the buyers' shoes. Hopefully, some of these tips will help you warm up the winter blues.

Tip 1: Safety, safety, safety!!! If someone slips on an icy sidewalk, that burden falls on you, the homeowner. Keep salt and shovels handy. Keep all walkways salted and clear at all times.

Tip 2: Draw them in with light. Bear in mind that during the winter months, it gets dark before most people leave work. Many home buyers look at houses in the evening hours. Be sure to have your sidewalk and porch(es) well lit. This will make buyers feel safe and welcome.

Tip 3: Turn on the heat. A few dollars spent on your electric bill could save you money in the long run. When it's cold outside, keep your house at a comfortable temperature to entice buyers to stay and look around.

Tip 4: Cinnamon. Cinnamon is the number one universally accepted fragrance. Many people suffer from allergies, so it might not be a good idea to spray air fresheners, but cinnamon says welcome home. It will also mask any stale odors from a vacant house.

Tuesday, August 23, 2011

Beginner Placemats

I have wanted a very specific style of placemats for quite a while. However, I had the hardest time finding placemats I liked.

So I made my own:


This project really isn't complicated. All marking, cuts, and stitches are in straight lines. I don't sew very often (seriously, about 6 times in the last two years), so I'm not the best seamstress around. I think this project is very user friendly.
What you'll need:

1 yard of two different fabrics
2 yards of sew-in interfacing
Thread
Yardstick
Tissue paper (I just used giftwrap-type tissue paper)
Permanent marker
Ink pen
Straight pens (about 2 dozen)
Iron & ironing board*
Shears
Sewing machine

Pre-Steps: (essential to any sewing project)Before you even start measuring, it's important that you iron/press your fabric. This will smooth out any wrinkles so it lays perfectly flat.

Make a small snip parallel to the selvage edge of the fabric. (The selvege is the edge with no printed design, but words like the manufacturer name and style, etc.) Then start ripping. Sometimes, the fabric is skewed. Sometimes the fabric lady isn't very precise in her cutting. The edge that is ripped will be perfectly straight.


************************************************************************
1.) Start layering. Your layers should be (top to bottom) tissue paper, interfacing, two pieces of fabric with wrong sides together.
2.) Cut tissue paper 12.5 inches x 16.5 inches. Lay it over the pieces of fabric and interfacing (make sure everything is aligned, first), then hold it together with straight pens. Cut out the fabric to match the size of the tissue paper. It should look like this:


3.) On 3 sides, measure in 1/4 inch. On one of the longer sides, measure in 1/2 inch. On the 1/2 inch size, mark a "no sew zone" of about 4 inches in the middle. This will allow you to pull it right side out later.

4.) Start sewing the edges. Be sure to follow the lines you drew, or else your placemats will have lopsided edges.

5.) Turn it right side out through the hole you left open.

6.) Iron everything flat.
7.) Stitch up the hole.

Finished Product:


Happy crafting!

Painting Tips

Two of the services I offer through my business are paint consultations and actual painting.

Did you know that paint is the single most affordable way to add value to a home?
But it has to be done correctly.

Here are some general tips for painting:
Always cover flooring, furniture, and anything else you won't want paint to splatter. It's easier and cheaper to lay down plastic or cloth than it is to clean up paint splatter.

Don't wear jewelry.

Wear old clothes and shoes.

Wear latex or neoprene gloves.

If you have long hair, wear a hat or pull it up.

You can cover a wet brush/roller with a plastic bag (grocery store bags work well) to keep the paint from hardening between coats. It will stay wet in the fridge for a couple of days.

Clean brushes right away, but do it in a utility sink. Mineral spirits and acetone-based paint removers can corrode plumbing, drains, and sinks.

Use a ladder. Yes, they're cumbersome to carry around and set up, but if you'll do a better job and put less strain on your back, why not use one?

Thanks for reading! Please "like" my business page on Facebook- Jensen Home Staging and Design, LLC.
Visit my website: www.jensenhomestaging.com

How to: Paint Stripes

This is what our "office" looked like when we bought our house in 2009:
I have wondered many times why the former owners chose such a dark color. Especially when I was painting the roughly 40' tall stairwell... So, it looks really small, right? This room has to wear many hats: an office while my husband was in graduate school, an office for me since I work from home, and a guest bedroom whenever we have company. Initially, we left the color like this and added two desks, a bookcase, and a futon. That just didn't work. The room was so crowded with furniture that it was stressful just to be in there.

Then, I decided to get rid of the futon. We only have overnight guests a handful of times per year-- an air mattress would suffice. I decided to rearrange furniture, replace the wobbly ceiling fan with a bright overhead light, paint, and add chair molding.

This is what it looks like now:

Since taking this picture, I have added a cream sheer, side-swept panel curtain to the window. It was definitely the finishing touch the window needed! Aaron and I stained the desks, which we got unfinished from the Wooden Chair near our house.

And you can see my dog, Maddie, to the left. =)

To me, the whole room looks larger, brighter, and cleaner! This is because of the visual interest created by stripes on the lower portion of the wall.

Here's how I created the stripes:
1.) Paint your main wall color from ceiling to baseboard.

2.) Decide how high you want your chair rail. A chair rail, once installed, should be 30-36 inches from the floor.

3.) Decide how thick you want your stripes. Keep in mind, skinny stripes may look busy and chunky stripes may look bottom heavy. Mine are 10 inches each. To do this, I used a yardstick, a level, and a pencil to mark lines every 10 inches around the room. Then, I drew an X in every other stripe. Finally, I taped INSIDE the lines of the lighter color. Once it was taped, there were 10 open inches in the "to be painted dark" sections, and less space showing between the tape of the main color sections. Once the tape was removed, every stripe was a perfect 10 inches.

4.) Choose your colors. I chose colors from the same swatch, one about three shades darker than the main wall color. Since we will keep this room painted like this until we sell our house, I chose neutral colors. Why paint twice? =)

5.) Choose a good paint! I prefer Behr Premium Plus Ultra (paint & primer in one). It's a little more pricy, but it's generally 1 coat coverage, nice thick paint. Comparably priced is Sherwin Williams. However, I have found Sherwin Williams paints to be runny and splatter a lot. The better your paint, the less physical work you'll have to put into painting.


Thanks for reading! Please be sure to like my business page on Facebook! Jensen Home Staging and Design, LLC.

Check out my website at www.jensenhomestaging.com.